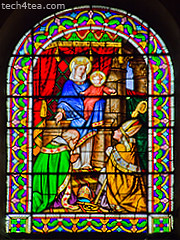
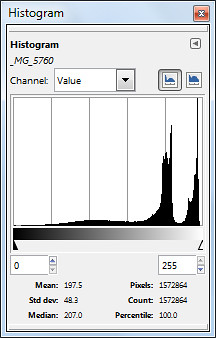
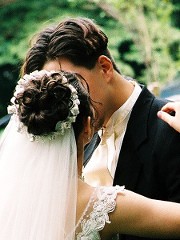
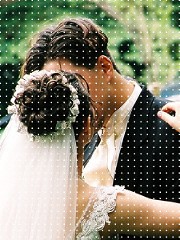
Use GIMP to turn photos into film slides and then join them together into a film strip.
The most straightforward way of conveying recording motion is to shoot video. However, photos can also be used to convey a sense of motion.
One way is to use a fast shuttle speed to freeze motion. Usually the posture of a sprinting man or the midair position of a mountain bike tells a story someone or something in motion frozen in that split second of exposure.
The other way is to do a panning shot. The photographer uses a relatively slower shuttle speed and moves camera such that the moving subject is kept at within the same location in the viewfinder. This is much trickier but the results can be dramatic. Only the moving subject is in focus while the surrounding background is blurred in motion blur. This effect can sometimes be simulated using a photo editor.
Yet another way is to shoot a sequence of photos of the moving subject. The photos in the sequence show the moving subject at various stages of movement. Many compact cameras today feature a burst mode for shooting action. Once the camera is focused on the moving subject, press down the shuttle release button and hold it down. The camera shoots in rapid succession a series of shots of the moving subject.
Last week, we saw how the Slide filter in GIMP can modify a digital photo to make it look as if it is mounted onto a film slide.
To make a film strip, simply apply the Slide filter separately to each photo in the sequence, and then join them together into a single film strip. Photos in landscape orientation will result in a horizontal film strip while photos in portrait orientation will result in a vertical film strip.


Below are a few points to note while combining the slides into a strip:
All the photos in the sequence should be of the same size, so that they can be joined together seamlessly.
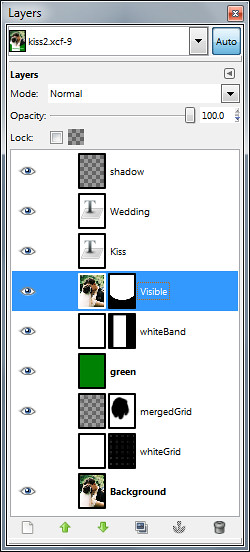
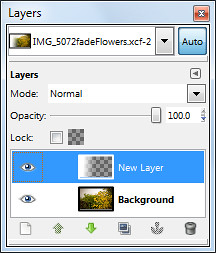
When the Slide filter is applied to a photo, the resulting photo that with the slide frame comprises three layers: the original photo (cropped to 3:2 aspect ratio), the slide frame (with the sprocket holes and the text labels), and a coloured background (which shows through the, the sprocket holes of the slide frame).


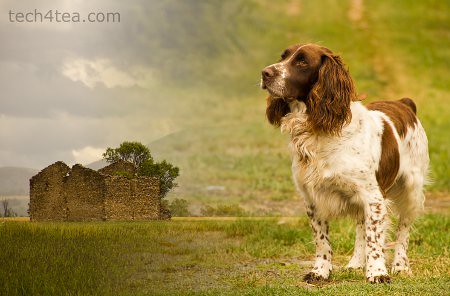
Sequence of photos taken in burst mode using a Sony SLT-A55V
Use the Image > Flatten Image command from the main menu to flatten the layers into a single layer to make it easier to drag and transfer it to another image window.
After each of the film slides have been flattened, drag and drop each of them the image window containing one of the film slides. This will become the workspace for joining the separate film slides into a single film strip.
Select the Image > Canvas Size command from the main menu. A “Set Image Canvas Size” dialog box pops up. First click the chain link between the Width and Height text fields so that one value can be changed independently of the other. If the film strip is to be horizontal, increase the Width, if the film strip is to be vertical, increase the Height.
To save the trouble of doing manual calculations, change the units in the dropdown box from “pixels” to “percent”. Then change the Width or Height field to the appropriate multiple: if there are to be two photos in the film strip, increase from 100 to 200 percent; if there are to be three photos, increase to 300 percent. Press the “Resize” button to confirm the change.
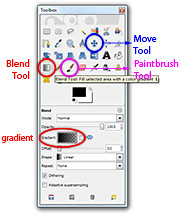
The image window shows only one of the film slides, the others are hidden directly below it. Select the Move Tool in the Toolbox. Drag the top film slide to move it. Hold down the Ctrl key on the keyboard while dragging to constrain the movement of the film slide to strictly horizontal or vertical movements.
Drag the film slides until they are positioned end-to-end with each other, and forms a horizontal or vertical film strip.
You can use the arrow keys on the keyboard to nudge the film slides so that the edges are seamless and doesn’t show any gaps in between.
Save the file and you have your film strip.


