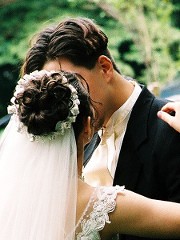
Make a poster or postcard from your favourite photo.
Ever wanted to make a postcard or a poster from your favourite photo? Here are some techniques using layers and layer masks in GIMP.
Add a grid of white dots
Open the photo in GIMP. From the Layers dialog, you can see it resides in the Background layer which is the only layer for the moment.
A new empty layer filled with white is added above the original photo in the Background layer.
Right-click on its thumbnail in the Layers dialog and select “Add Layer Mask” command from the pop-up menu. In the “Add Layer Mask” dialog box that pops up, select the “White (full opacity)” option and press the OK button. A layer mask filled with white is added to the layer – you can see its thumbnail beside the original thumbnail in the Layers dialog.
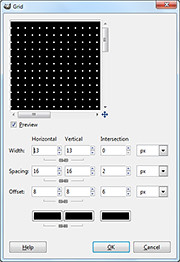
From the main menu, select the “Filters > Render > Pattern > Grid” command. In the Grid dialog box that pops up, increase the horizontal width setting until the preview in the dialog box shows a grid of white dots of the desired size. Here I used a setting of 13.
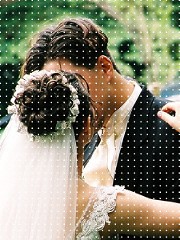
The white layer now appears as a grid of white dots overlaid on the original photo.
Right-click on the upper layer in the Layers dialog and select “Apply Layer Mask” to merge the layer mask into the original solid white layer. The layer mask is removed and the layer becomes a transparent layer with a grid of white dots overlaid on the photo below.
Hiding the white dots from the heads and faces
Add a new layer mask on this layer, again selecting the “White (full opacity)” option in the “Add Layer Mask” pop-up dialog box.
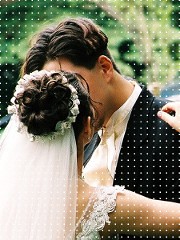
Press “D” on the keyboard to reset the Foreground colour to black. Activate the Paintbrush Tool from the Toolbox and paint on the layer mask in the image window. Paint around the heads and faces of the wedding couple to hide the white dots in that area.
From the main menu, select the “Layer > New from Visible” command to create a new layer that combines all the visible layers in one layer.
Adding the green arc
In the Layers dialog, click to select the layer below the new combined layer. This is so that any new layers created will be added BELOW the combined layer.
Set the Foreground colour to green (or your preferred colour). Add a new layer by clicking the icon at the bottom left corner of the Layers dialog. In the “New Layer” dialog box that pops up, select the radio button for “Foreground color” option under Layer Fill Type and press the OK button.
A new layer filled with green is added just below the combined layer.
Right-click the combined layer in the Layers dialog to add a layer mask to the layer, using the “White (full opacity)” option. Press the minus key (“-”) on the keyboard to zoom out the view in the image window.
As the photo becomes smaller than the image window, you will see white space between the edges of the photo and the edges of the image window.
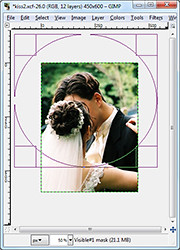
Activate the Ellipse Select Tool from the Toolbox and drag an elliptical selection around the couple’s heads. You can begin dragging in the white space between the photo and the edge of the image window so that the elliptical selection covers most of the photo except for a small arc at the bottom of the photo.
Remember you can adjust the size and position of the elliptical selection by dragging the side or corner control handles of the selection outline. Once happy with the selection, use the “Select > Invert” command from the main menu to invert the selection.
Press “D” on the keyboard to reset the Foreground colour to black. Select the “Edit > Fill with FG Color” command to fill the arc with black (in the layer mask).
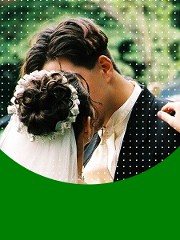
An arc of green is revealed below the photo.
Adding the white highlight
Click on the green layer in the Layers dialog to select it.
Add another new layer, this time selecting the radio button for “White” option under Layer Fill Type. The new white layer is added above the green layer but below the combined layer.
Add a layer mask to the white layer, selecting the “Black (full transparency)” option in the pop-up dialog box. A layer mask filled with black is added to the layer.
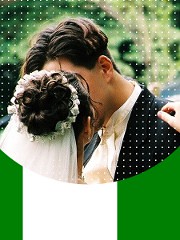
Press “D” to reset the Background colour to white. Using the Rectangle Select Tool from the Toolbox, select a vertical band and use the “Edit > Fill with BG Color” command from the main menu. A white band is added to the layer mask such that a white band runs through the green arc.
Adding the text captions
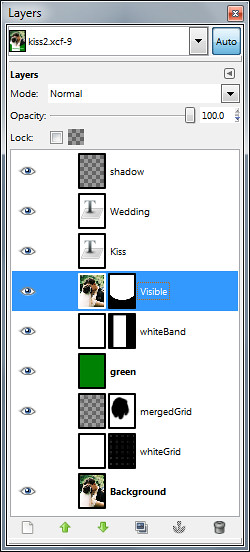
GIMP's Layers dialog.
Click the combined layer (the topmost layer) in the Layers dialog to select it, so that any text captions added will be added above it.
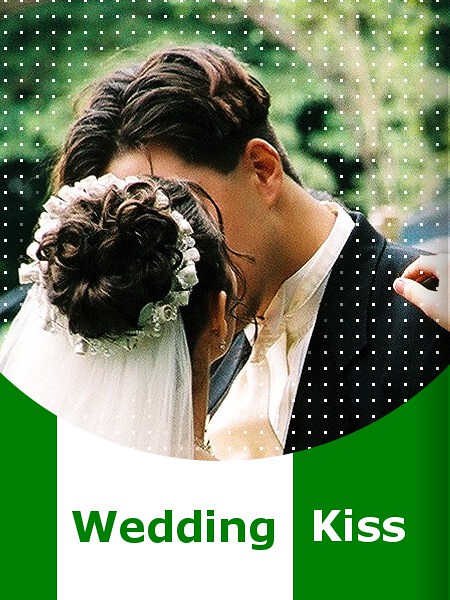
Activate the Text Tool from the Toolbox. In the Tool Options below the Toolbox, set the font, size and colour settings for the Text Tool. Click in the white band in the arc with the cursor and type the word “Wedding”. Click in the green portion to add the word “Kiss”.
After adding the captions, you can still change the font, size and colour setting for these captions by selecting them first with the Text Tool and then modifying them in the Tool Options.
Add edge shadow
Add a new empty layer right at the top of all other layers. Activate the Blend Tool from the Toolbox. Press “D” to reset the Foreground colour to black and the gradient to “FG to Transparent”.
Again, zoom out the photo (by pressing the minus key on the keyboard) until the photo is smaller than the image window. Drag a black-to-transparent gradient from outside the right edge of the photo (but inside the right edge of the image window) to slightly inside the right edge of the photo.
Save the file in .xcf format so that you can come back to tweak the design in the future. Save as .jpg to send the file for print at the studio.
Tags: GIMP, image editor, photo editor, tips
